If you have a website or blog on WordPress, there’s a good chance that your aim is to gather email addresses. Whether your aim is to launch a targeted email campaign or to send out newsletters, gathering email addresses will be a key step in your online marketing process.
There is a plugin which enables you to connect your MailChimp (the online newsletter-sending tool) account to your blog.
In this article, we’ll go through how to install this plugin on your site, and how to make it work.
Step 1: create a MailChimp account
Go to this page and fill in the necessary information. It takes around 3 minutes and costs nothing (use of MailChimp is free for up to 2000 emails).
Once you’ve created an account, go back to your WordPress blog.
Step 2: install the extension "MailChimp for WordPress"
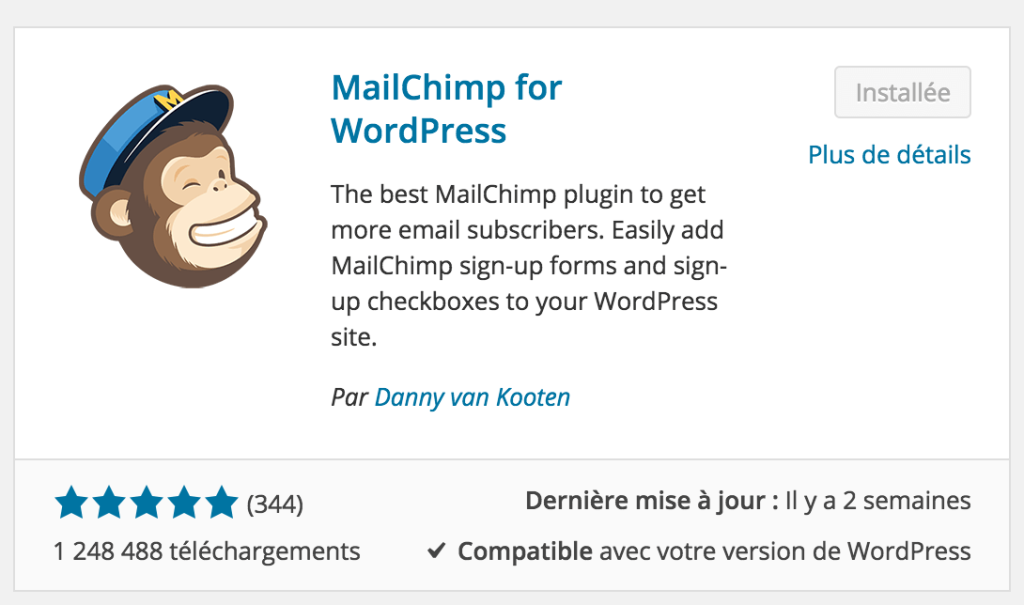
Go into “Extensions”, then “Add”, and look for the extension “MailChimp for WordPress”:

Install and then activate the extension.
Step 3: configure the plugin
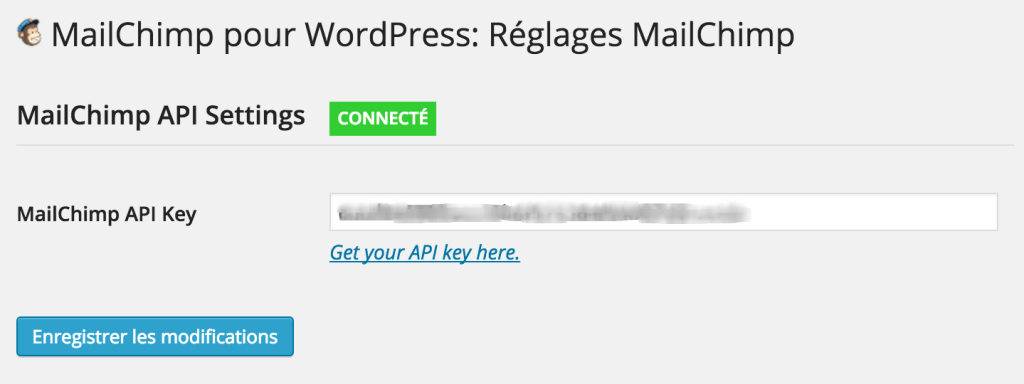
First of all, you need to obtain your “API Key” from MailChimp – you need this for your plugin to work correctly. If you don’t already have one, go to your left sidebar: MailChimp for Wordpress>MailChimp.
This will take you to:

Click on “Get your API key here”, and you’ll be automatically redirected to MailChimp.
Go into “Extras” and generate your API key. It’s a long sequence of numbers and letters – copy and paste it into the appropriate space on WordPress.
Once you save your settings, the word “connected” will appear, like on the screenshot above.
Your MailChimp account is now connected to your MailChimp extension on WordPress. This means that any modifications made on MailChimp will appear on your plugin.
Step 4: create a mailing list on MailChimp
Before going any further, you need to create a mailing list on MailChimp.
It’s easy to do: click on List>Create List and then follow the instructions.
Step 5: create a form
You now need to create the form that users will see on your site.
Go back into Wordpress and select the MailChimp tab to find Wordpress>Forms.
Tick the mailing list you created on MailChimp during step 4.
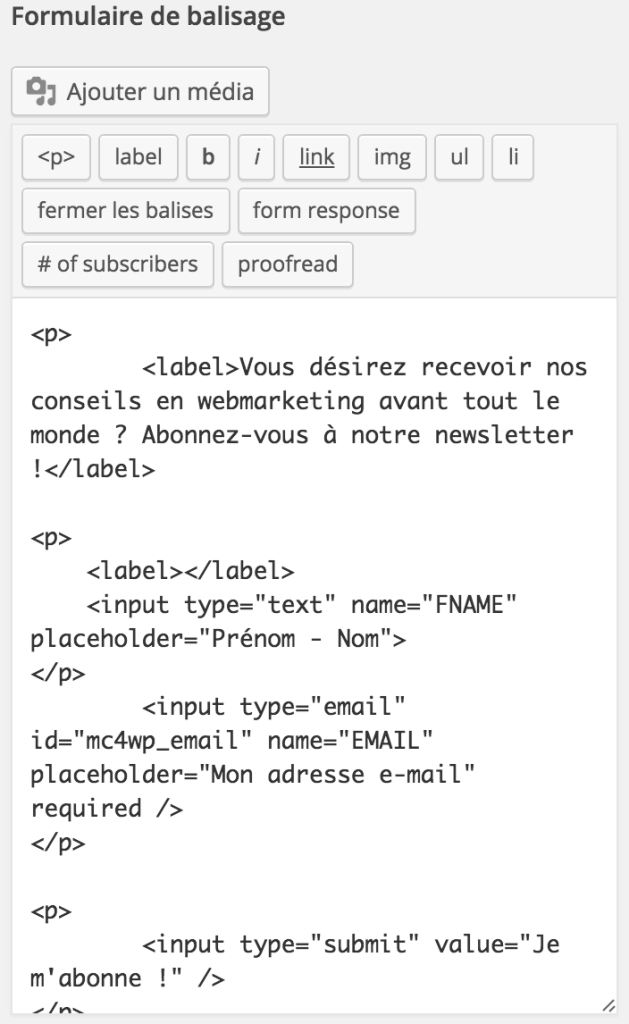
Further down, you’ll see the form field:

The default language is English, but should you wish to change it, simply replace the necessary sections with text in the language of your choice.
You can add as many fields as you wish and modify the header.
Save your changes – you’re now ready to embed your form!
Step 6: embed your form on your blog/website
You can embed your form in one of two very simple ways: either by embedding it in the text of an article, or on a widget.
To embed it in the text, all you have to do is paste the code in the desired place on your page or in your article: the form you’ve just created will show up automatically.
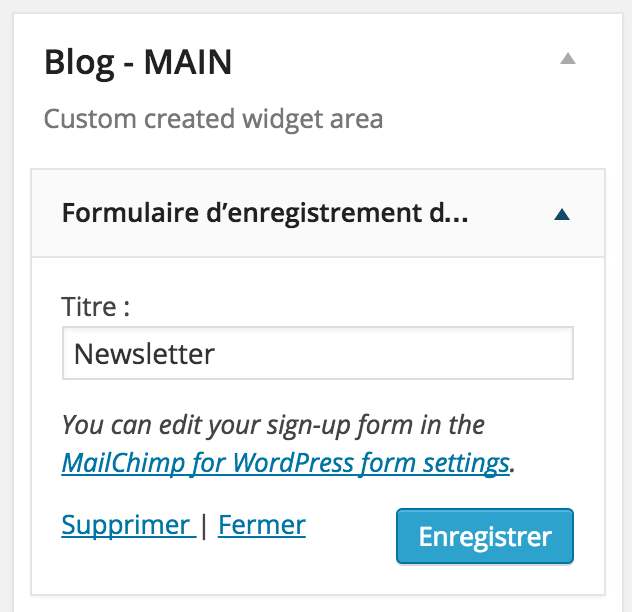
To embed it on a widget, go into Appearance>Widgets and drag “Registration form…” into the widget of your choice. We decided to make it appear in several places on our site, notably in the blog section. We therefore selected the “Blog”widget.

And you’re done! Visitors to your site will now be able to sign up for your newsletter directly. Every time someone signs up, your MailChimp list will update automatically.
In this article, we aimed to cover the bases of how to install this plugin. Something we didn’t mention in great detail was the translation of automatic emails sent when a user signs up using your form. The default language is English, but it is possible to translate them into French, for instance. If you wish to learn more about this, take a look at this excellent article from insidedaweb.

